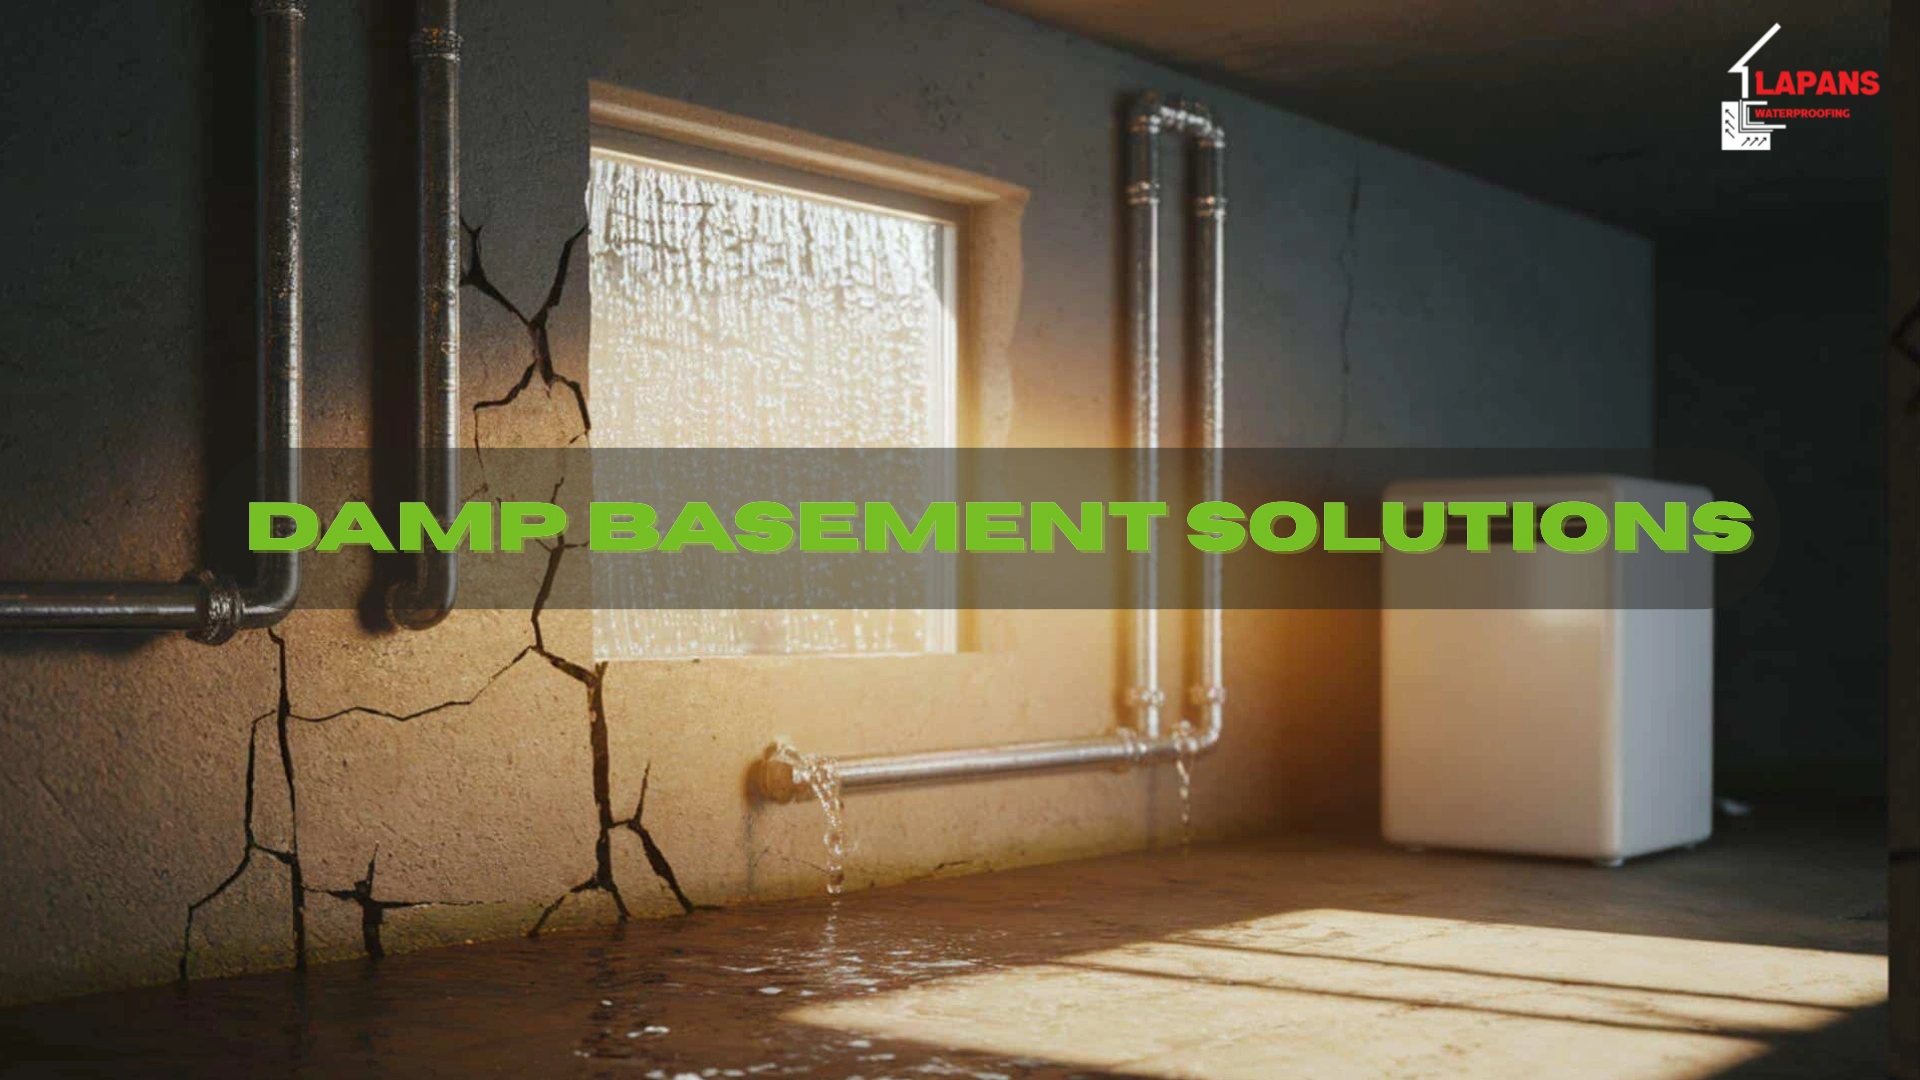
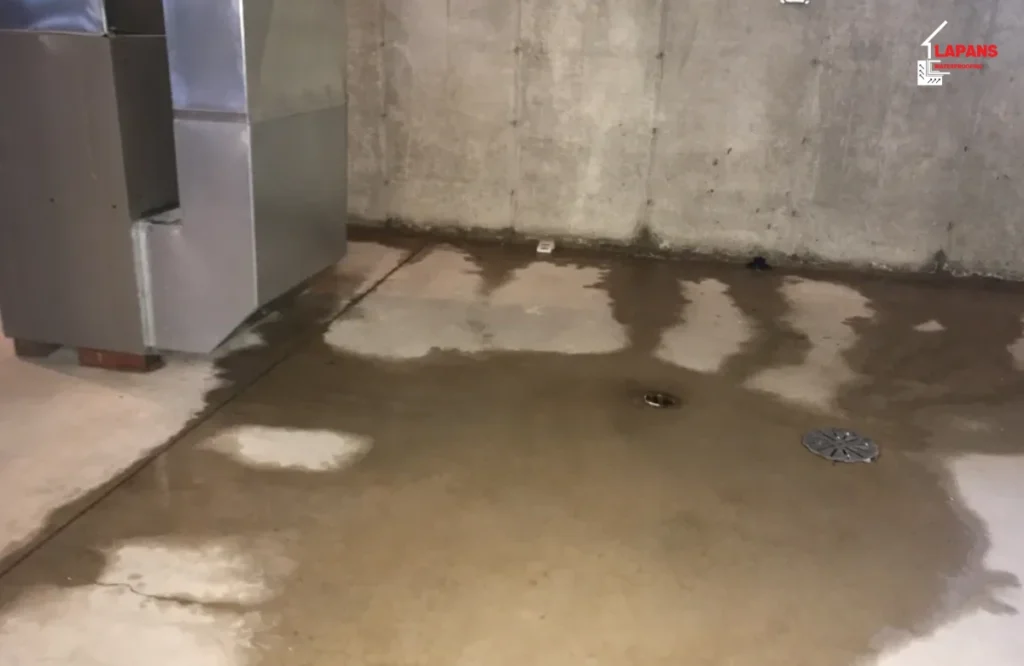
A damp basement is capable of producing inconveniences that are beyond your imagination, such as the development of fungi, the release of weird odors, and even the structural decay of your house. Many homeowners have to deal with moisture problems that are very persistent and as a result, they not only feel uncomfortable living in their houses but also their health is exposed to danger. Learning how to dry a damp in an efficient manner is the first step to the assurance of a safe, dry, and healthy home environment. This guide will provide you with step-by-step solutions, so that you can not only make the basement dry but also keep it dry all through the year.
Common Causes of Basement Dampness
Basement dampness is a frequent problem that is mainly due to various causes that allow water to enter or accumulate in the basement. Identifying these causes is the first step towards setting up the appropriate measures to save the basement from getting damp.
- Water Infiltration from Rain or Groundwater
- Poor Drainage Around the Home
- Cracks and Leaks in Basement Walls or Floors
- Interior Moisture Sources
- High Humidity and Condensation
- Leaky Pipes or Plumbing Issues
- Window Wells and Poor Ventilation
How to get rid of moisture in the basement
Basements are susceptible to moisture as they are located below ground and are in contact with soil and water. Below are some ways that you can use to get rid of the moisture in your basement, and at the same time, keep it a clean and dry place.
1. Increase air circulation
Proper air circulation is one of the best ways to speed the evaporation of moisture from the basement. Open any windows and doors to allow fresh air to enter your place. Place fans or air movers in such a way that they can draw the air over the walls and the floor and thus the drying process. If the basement does not have a window, then it is better to put a ventilation system in the basement and allow the exchange of air.
2. Use dehumidifiers
Dehumidifiers are appliances that are designed to extract water vapor from the atmosphere. These appliances lower the relative humidity of the basement to a safe level (ideally, a value below 50 percent). The dehumidifier should be of the correct dimensions in relation to the square footage of the basement. Drain it regularly or connect it to a drain. Clean the filters and coils as part of the unit maintenance so it can run efficiently and also keep the air dry. In addition, it is important that the space surrounding the dehumidifier is cleaned and does not accumulate dust.
3. Absorb Moisture with Desiccants
Silica gel, calcium chloride, or activated charcoal can extract moisture from the air in small or inaccessible places. Put these desiccants in damp corners or closed areas to lower the humidity of the ambient air. These products are particularly useful as a supplement to moisture control after air conditioning.
4. Fix Water Leak Sources
The most common sources of moisture are leaks or water seeping into the house. Look for cracks and leaks in the walls, basement floor, and plumbing. Cover small holes with hydraulic cement or waterproof sealants. For an ongoing leakage, think about professional repair ways like the injection of epoxy or the fixing of the foundation that stops water from coming in.
5. Dry Wet Materials Quickly
Moisture can become trapped in wet items such as carpets, furniture, or cardboard boxes and this will promote the growth of mold in your home. Get these things out of your basement or dry them using fans, dehumidifiers, or heaters as soon as possible. Prompt action prevents moisture from spreading to adjacent areas.
6. Improve Basement Drainage
Water that pools near the foundation of a house will cause dampness. Make sure the yard slopes away from the home, clean gutters, and extend downspouts to divert water at least 3-5 feet from the structure. If you have basements that are always flooded with water, then go for interior drainage such as a French drain system with a sump pump that will collect and expel water efficiently.
7. Apply Waterproof Sealants and Vapor Barriers
One of the ways you can protect basement walls and floors from the penetration of moisture is by applying waterproof paints or sealants. Vapor barriers, such as thick polyethylene sheets that are installed under flooring or along walls, can keep the moisture that is in the ground from coming indoors. These treatments become even more significant when you have done leak repairs or installed drainage systems.
Basement Waterproofing Costs
| Prevention/Maintenance Measure | Average Cost Range | Description |
| Exterior Grading and Drainage Improvements | $1,000 – $3,000 | Adjusting soil to slope away from foundation. |
| Gutters and Downspouts Installation/Repair | $300 – $800 | Directing rainwater away from the house. |
| Exterior Waterproof Membranes/Coatings | $3,000 – $7,000 | Waterproof layer on outside foundation walls. |
| Interior Waterproof Paints and Sealants | $500 – $1,500 | Sealing basement walls and floors from moisture. |
| Interior French Drain & Sump Pump Installation | $2,000 – $10,000 | System to collect and pump out water inside. |
| Sump Pump Maintenance | $100 – $200 per year | Annual checkup and servicing to keep it working. |
| Basement Dehumidifier Purchase and Operation | $150 – $500 (purchase) | Unit cost; monthly electricity costs apply. |
| Regular Professional Inspections & Minor Repairs | $200 – $600 annually | Checking and fixing leaks and drainage issues. |
| Comprehensive Professional Waterproofing | $5,000 – $15,000+ | Full waterproofing including excavation and repair. |
Interior vs. Exterior Waterproofing: Which Is Right for You?
When trying to figure out the best way to save your basement from water damage, the decision of whether to use an interior or exterior waterproofing method is the most important one.
Interior waterproofing is the installation inside the basement walls and floor. It generally includes sealants, drainage systems such as French drains, and sump pumps that gather and eject water. This method is cheaper, less time-consuming, and more convenient as there is no need to remove your landscaping. Interior waterproofing liquefies water once it is inside the house, but does not stop it from reaching your foundation.
Exterior waterproofing is the process of digging around your house so that you can apply waterproof membranes on the outside of the foundation walls. It eliminates the cause of water intrusion and gives the foundation the required safety from damage and hydrostatic pressure. However, it is more costly, lengthy, and can negatively affect your yard.
For a lot of homeowners, interior waterproofing is a cheap and quick way to keep the moisture that can potentially harm the basement under control. Exterior waterproofing is the best decision for the prevention of water issues in the long run, especially if you have experienced water problems or are concerned about your foundation.
Conclusion
A dry basement, first of all, is going to be the source of clean fresh air for your home and ensure that your house will be free of molds, odors and structurally safe. Proper sealing, drainage, and regular checks will allow you to keep away moisture problems before they take hold. If your cellar is getting wet or cracked, do not wait. Reach out to Lapan’s Basement Waterproofing and get professional solutions and guidance that meet your requirements.
FAQs
A basement gets wet when water leaks inside through the cracks, the drains are not working well or the air is very humid.
Check your basement for water twice a year and also check after heavy rains and storms.
You can do small jobs like sealing cracks and running a dehumidifier on your own, but a pro is the best for major waterproofing.
The most efficient are suitable exterior drainage, waterproofing of the walls and the usage of drainage systems inside the basement.
It helps control humidity but doesn’t fix water entering from outside.
Depending on the materials and the method, professional waterproofing is effective for 10 to 30 years.