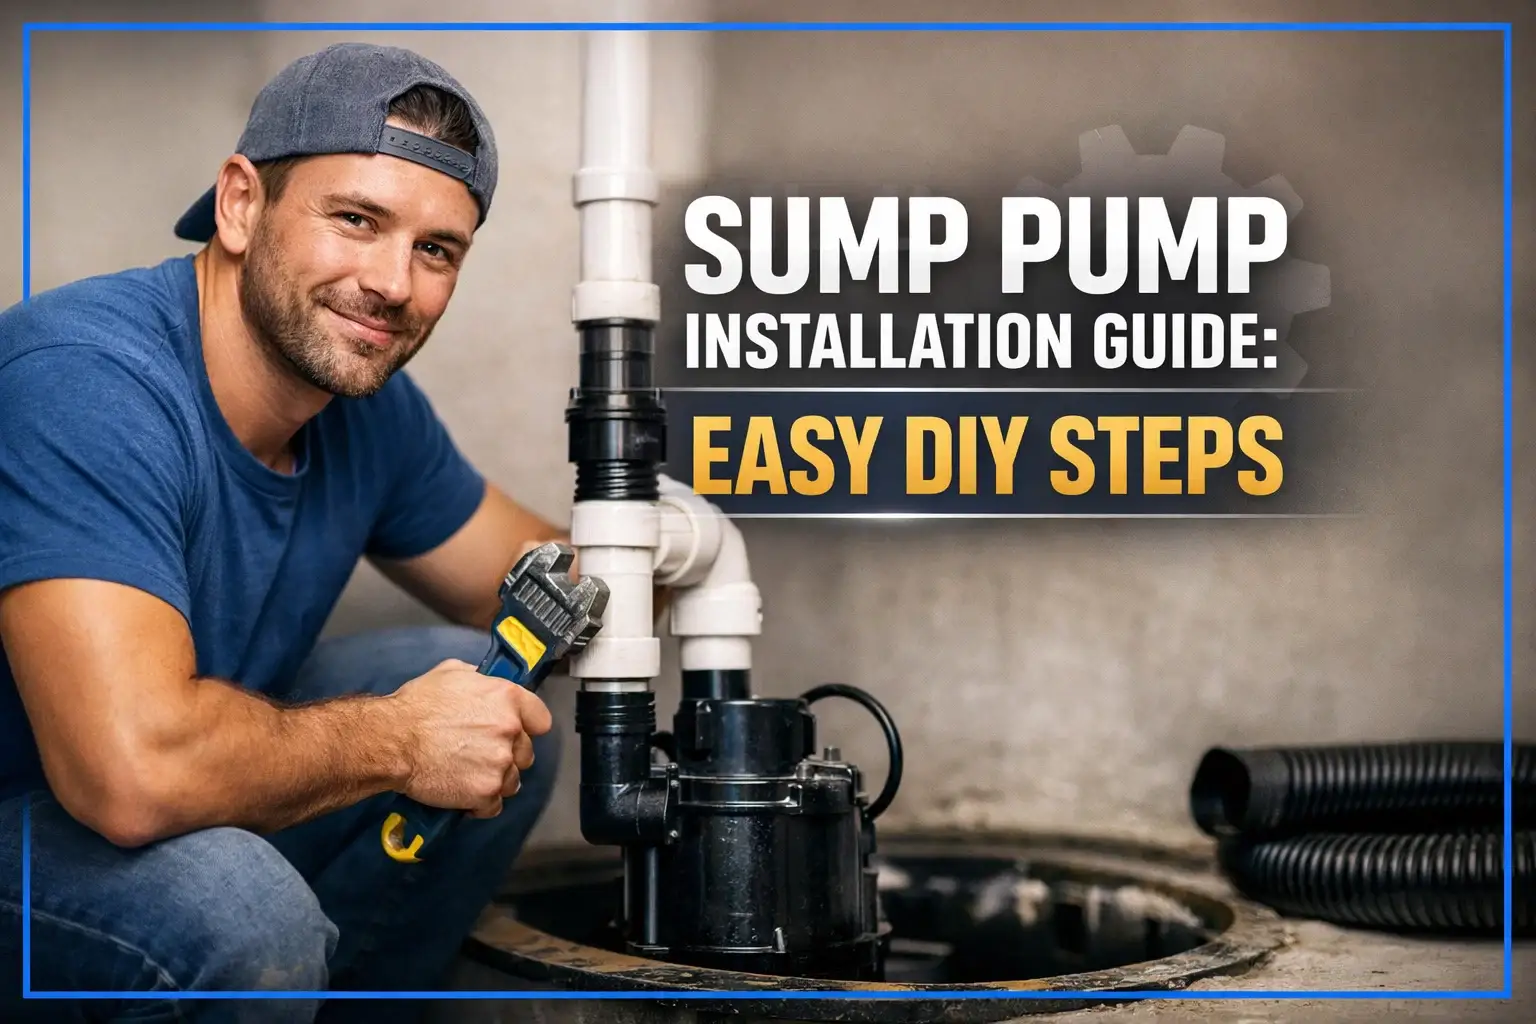
Homeowners across Massachusetts and other US states commonly face the problem of basement flooding. It is a major nuisance for many people and causes significant structural damage to their properties. Sump pump installation in the basement is an effective remedy against winter snow melts and sewage backup that typically result in flooding of the area.
Even though professional assistance is recommended in this regard, many people like installing a sump pump on their own. This article focuses on providing expert DIY insights to such people so that they are fully aware of exactly what they need to do. Let’s start by learning the basics of a sump pump and what functions it performs.
What is a Sump Pump?
It is a machine built for the purpose of pumping fluid (mostly water) from a collection site to a designated drainage. It is mostly used in basements and other flooded areas to clear them out of water. For doing that, the pump first collects surrounding water in a specially constructed basin and then redirects it to the outside drainage system.
Materials Needed for a Basement Sump Pump Installation
Here is a comprehensive list of tools and materials you will most likely need for this purpose when doing it yourself:
- A brand new sump pump with a liner
- Make sure to get a new check valve
- An adjustable drill machine
- A sharp hacksaw and knife
- Gravel for the liner filling
- PVC Primer and cement
- Pliers
- An adjustable pipe wrench
- Shop-vac (wet/dry vacuum)
- Some wire ties
- Rubber grommets
- A pair of gloves and some rags
- 1.5″ Schedule 40 PVC pipe (ideally 10 feet in length)
How to Choose The Optimal Location for The Basin
Your apparatus needs to be installed at a strategic location for it to work optimally. Generally speaking, it works best when located at the lowest point on the floor. However, it is important to be mindful that it might not always be possible because of the availability of electric supply points.
You need to have a point in the close vicinity of where the pump is placed (power cords usually come with an 8 to 10 feet in length). Using extension cables is not recommended as it can result in voltage drops and other safety hazards, including fire risk.
It is ideal to have an electrical outlet close to the lowest point on your basement’s floor (at least four feet above the ground on a dedicated electrical circuit). But if that is not the case, then you are left with two options:
- Hire an electrician to install an outlet near the desired area (which seems like an unlikely option for a DIY activity).
- The second option is to install a PVC feedline for channeling fluid from the lowest spot to the area where your sump pump in basement is located.
How to Install a Sump Basin and a Sump Pump
After pinpointing the ideal spot for the placement of your apparatus, let’s dive into the actual process of installing a sump pump. There are two main steps involved in this process:
- Preparing the basin
- Installing the pump
Preparing the Basin for Sump Pump Installation
Once you have finalized the spot, start by excavating a pit of the appropriate size for your chosen pump. You will have to put the liner in to avoid direct contact of the machine with the muddy floor underneath. It will protect it by stopping unwanted sludge from getting into the pipes.
After placing the liner in the pit, fill the gaps with gravel to prevent sediment from entering it. This will help keep your pump clean over the long run.
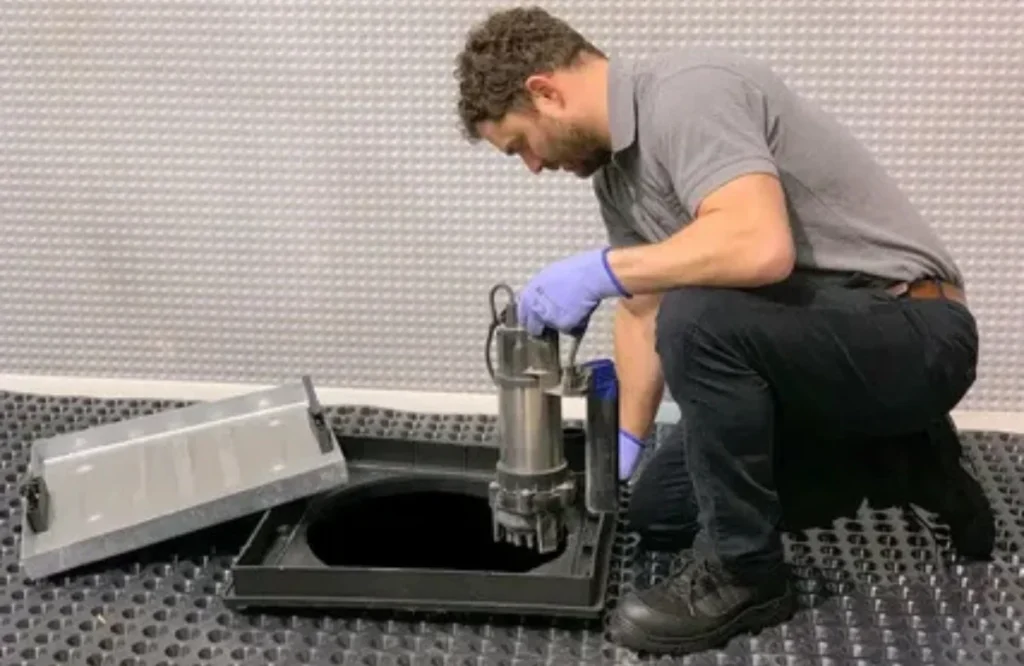
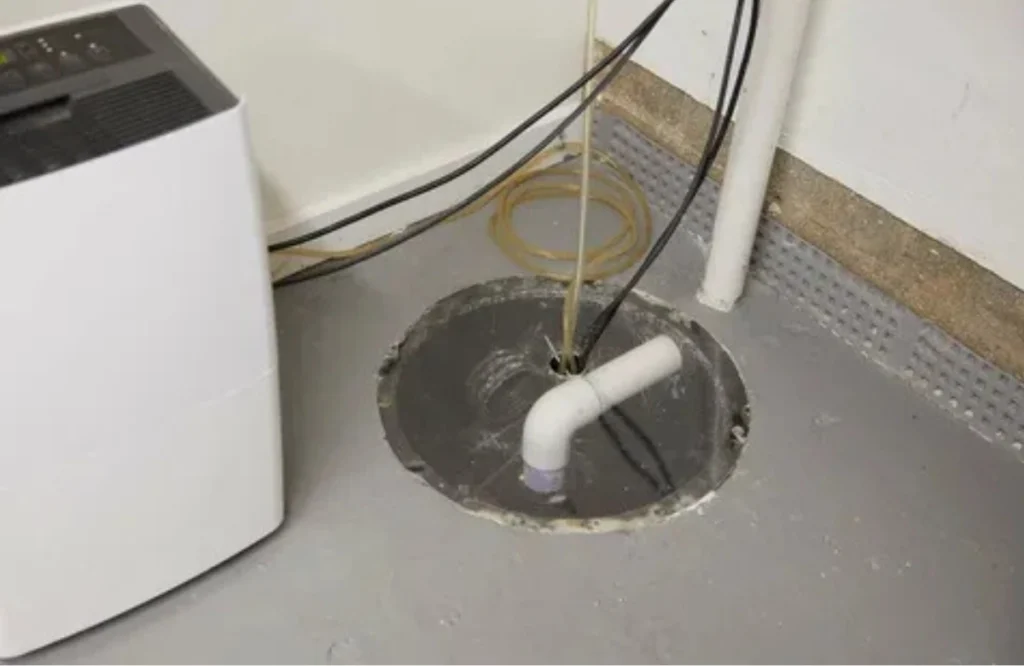
Placement and Installation of the Pump in the Pit
- Attach the adapter to the bottom pipe: Make use of the primer to fix the adapter to the end of the bottom PVC pipe. Then connect it to your pump’s discharge port using a wrench. Be careful, as overtightening can crack it.
- Drill the weep hole: The weep hole is necessary to avoid the creation of an air lock in the pipe, which will cause its activity to fail. Drill a hole in the pipe in a downward direction at a 45-degree angle above the discharge adapter (more or less two fingers’ width above it).
- Connecting the check valve to the upper pipe: The next step in the process is attaching your check valve to the upper discharge pipe with the help of primer and cement.
- Accurate measurement: For accurate measurement, you need to place the pump onto the liner and get a marking of the ideal length for the pipe. After that, safely remove both the pump and the pipe from the pit.
- Cutting the pipe (final length): Now is the time to cut the pipe at the marked point using a hacksaw. Following that, smooth out the irregular edge of the pipe from the cut point using a knife in order to prevent leaks in the future.
- Making the final connection: Once you are done with the cutting process, glue the adapter onto the cut end. Place the pump into the pit again by carefully aligning the discharge pipe. Finally, secure your check valve in place by tightening the threading.
Performing the Final Test
Perform the normal function test after successfully installing a sump pump in your basement. For the pump to start performing its function, plug its cable into the float cord, which will in turn be plugged into the electrical outlet. Make sure that the pit is filled with water (never let your pump run dry to avoid damage). You might need to pour some buckets of water into it.
Run the apparatus and see if it actually channels the fluid out. One thing to pay special attention to is the normal functioning of the check valve. It needs to shut down completely upon closing the operation.
Properly Maintaining Your Sump Pump System
Below are a couple of practical tips to keep your apparatus working smoothly over a long period of time:
Electrical Cords Safety
You need to tightly secure the cords with the discharge pipe using wire ties. It will ensure that they do not touch each other, preventing costly electricity mishaps. It will also prevent them from hindering the free movement of the float.
Keep the Pit Covered
Always keep your pit closed with the help of a dedicated sump lid. It will protect the basin area by reducing the chances of falling debris from the nearby floor region.
Make the lid airtight to have an ideal system that will keep the bad odour and humidity contained within the pit. You can do that by using rubber bushings to seal the spaces around wires and pipes.
Conclusion
Sump pump installation is an effective method against seasonal basement flooding across the US. You can get your system up and running by following the simple method explained in this guide for choosing the optimal basin location and DIY installation. You can also choose to get expert help from LaPan Waterproofing to get a more professional-looking and efficient finish.
FAQs
Yes, you can do a basic installation and get the system running, but it is recommended to seek professional help for more complex systems, such as those involving a battery backup or an alarm system.
It has to be the lowest spot in your basement or any intended floor in an ideal case scenario. It helps in maintaining a natural flow of the accumulated water into the basin. If not there, then you need to channel the water from the low area to the sump with a PVC pipe through the ground channel.
First, it actually pumps the water out from the basin to the drainage. Secondly, the check valve closes completely when the system shuts down.
The liner prevents direct contact between the pump and the muddy ground underneath. It is beneficial in keeping the sludge away from the system, keeping it working smoothly.